Wednesday, November 27, 2013

Mail Art: Snail Mail in the Age of Electronic Mail


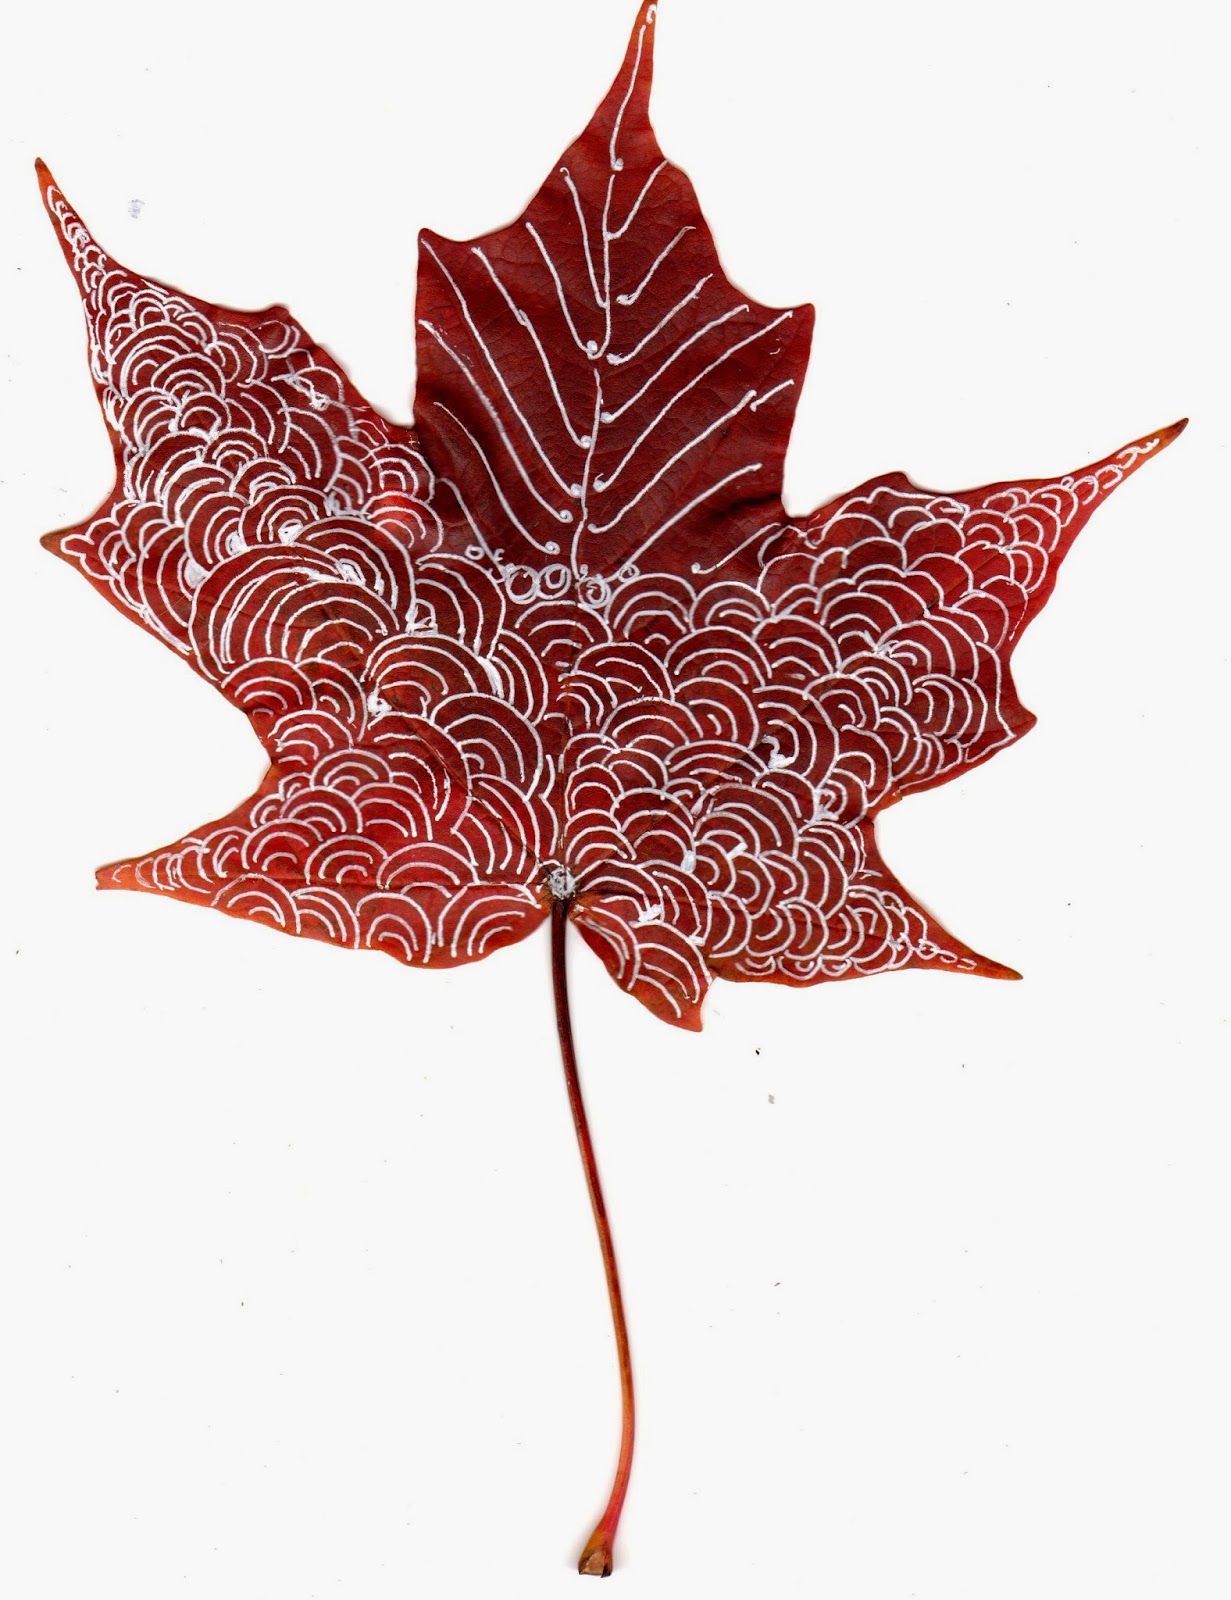
This was my first attempt at mail art. I was first introduced to this fascinating art form on Dave Dube' artblog and later on I came upon upon this book "Good Mail Day: A Primer for Making Eye-Popping Postal Art" by Hinchcliff, J and Gilligan, Carolee. And there are several boards on the Pinterest to inspire.

Not surprisingly, I used my favorite characters, Elephant Lochanadevi and her child, for my first mail art. In this age of texting and e-mail, it is touching to see this pair still using the old-fashioned snail mail.

I am pleased that it got published in the July 2015 issue of UPPERCASE which is dedicated to Stamps and Doilies. It is quite fantastically put together and you can get a low-resolution view of it in here.


Thanks for visiting. Your comments are always appreciated.

Sunday, November 17, 2013

Image Transfer on Wood


A while ago, after reading Collage Fusion: Vibrant Wood and Fabric Art Using Telamadera Techniques by Alma de la Melena Cox, I got myself a pyrographic kit from Michaels. I have yet to create art using her techniques, but I learned how to transfer images using the wood burning tool. It has become one of my favorite image transfer techniques. I like using it on small unfinished wood surfaces and the more I use the more I like it. This weekend, I decorated a set of wood tags using this technique and while I was at it, I took photos and wrote up this tutorial.

 Materials Needed

1. Wood burning kit. Available at all craft stores. Buy one that includes a circular tool point.
2. Small unfinished wood pieces--tag, round and rectangle shaped. They can be found in the wood craft section at Michaels. Transfer works best on unfinished and unpainted pieces. 
3. Craft acrylic paints, glazing medium and gel pens. Again, these can be bought from any craft store.
4. Copyright free images. An excellent source for free images are www.thegraphicsfairy.com. The images should be printed on a laser printer or photocopied. The images used for transfer should be toner based. Inkjet prints will not transfer. The photo below shows a sample of wood pieces and images.


Instructions

The kit I bought came with several points along with the burning tool and one of them was a transfer point. It is a round disc (see below). 

1. I taped the image on the wood surface (image side down). I taped the image so that my left hand would not be in the way of the burner tool.


3. I set the temperature dial on the wood burner to the maximum and let it heat for about 6 minutes.

4. Once it was heated, I rubbed the point over the image using a continuous circular motion.


5. It took about five minutes to get the image transferred. When it was done , it looked like this.


As you can see, the transfer causes some burning to occur. I, personally, do not mind this, If you want to minimize wood burns, you can use set the heat at a lower temperature. Experiment a little to see what works for you.

Tip 1: Press firmly but not too hard and move the tip continuously in a circular motion. Otherwise, the paper will get round burn marks which will imprint on the wood.
Tip 2: Lift the paper often to make sure the image is transferring.
Tip 3: The tip can get very hot; use caution and follow the manufacturer's instruction on safe use.

The following steps are optional. You may stop with just the image transfer and use the pieces in their natural, unfinished state or you may additional colors and enhancements.

6. Squeeze a few drops of craft paint on a paper plate. Add several drops of glazing medium to the paint and blend it thoroughly. Craft acrylic paints are usually opaque and adding a glazing medium makes the paint transparent. Paint over the image. When done, it will look like this.


As you can see, the image is visible under the paint. You can stop here and use the tag as it is or if you want to do more, you can highlight the details with gel pens. Black and white colors work best.


Thanks for visiting.

Saturday, November 16, 2013

A Bug's Life


This week's challenge at I am the Diva czt is to tangle a tile around a bug. I decided to tangle and place my bug on that most natural of tiles, a leaf. Early in the fall season, I had collected several leaves. I had coated them with mod-podge and packed them in a ziploc bag. This kept them from drying out and also made the surface smooth for drawing. I used a calligraphy pen and acrylic ink to draw the fine line/vein of the leaf. I drew the dragonfly with white gel pen.

Thank you for stopping by.

Friday, November 8, 2013

Leaf Art in Autumn


The leaves are falling with abandon covering the ground in riotous colors. As I feel their soft skin, they seem to be calling out "Take me with you. I am not ready to be raked away or sucked up". How can I resist? So, I bring some home with no idea of what I was going to do. I put them in a large ziploc bag so that they would not dry up while I decided how to immortalize them. The large maple leaves turning into this mouthwatering chocolate color were perfect canvases to doodle and to cut designs. So, every night I worked on one leaf without any prior planning, simply letting the leaves speak to me. The technique is very simple, tools are minimal and in short time one can produce a work of art.


For doodling on the leaves, I used a white gel pen. These are non-permanent and if you make a mistake or don't like the design, you can wash it off and start all over again. You can also apply a thin coat modge-podge over the doodle to seal it. To keep it from drying out, put in a ziploc bag. It will stay soft and supple for quite a while.


For cut out, I used a basic exacto knife. I lightly drew the lines first with a while gel pend and cut around the lines. Again, I sealed the leaf with modge-podge after the basic design has been cut.


Thanks for visiting.

Saturday, November 2, 2013

I am the Diva Zentangle Challenge: Comfort/Danger Zone


The Challenge at I am the Diva this week is to find one's comfort zone and then move to danger zone. My comfort zone is creating ZIA. The danger for me is using an unusual material to create the ZIA with a single pattern used repetitively. At some point though, both zones became one and the same.

I used a maple leaf that had fallen on the ground and turning into this beautiful brown color with a hint of gold here and there. I used a white gel pen to draw the tangle.

Thanks for visiting.

Streets of Chennai: Sunday Morning at Barnaby Road, Kilpauk


Familiar Sight: Intersection of Truck and Motorcycle !


Offering Prayers from Outside: Padala Amman Temple


Vehicles Parked Outside the Temple


These photos were taken on a Sunday morning around 9 0' clock when the traffic was still light. It is still awesome to see how pedestrians, four-legged creatures, two-wheelers, auto rickshaws and trucks navigate their way on this busy intersection. There are really no traffic lights or pedestrian crossings here. Just everything and everyone following their own internal GPS!

Thanks for visiting.