Friday, May 23, 2014

Coconut Rice


Rice is the staple diet of South Indians and the South Indian cuisine is replete with mouth-watering variety of rice dishes, ranging from gravies and sauces that can be mixed into plain cooked rice to one-pot dishes like pongal, coconut rice, lemon rice, tamarind rice, curd rice, sesame seed rice, to mention just a few. The Tamil festivals of Pongal and Aadi Perukku are celebrations of the versatility of this grain and the rich cuisine it has spawned.

Among the several one pot rice dishes, coconut rice and lemon rice are the easiest and foolproof dishes to make. The ingredients for the two dishes are also commonly available now-a-days. Interestingly, after years of bad press coconut is also making a comeback as a good for you natural food. I make coconut rice often. I made it today and as I was making it I decided to take photos of the preparation and post it here. Below is the recipe for coconut rice.

What you will need: (see 2nd photo above)
(based on your taste and preferences, you can add more or less of the ingredients below)

long grain rice, 1 cup
grated coconut, fresh or dried, 2 tablespoons
coconut oil (can be substituted with any other oil) 1 tablespoon
salt to taste
black mustard seeds, a pinch (optional)
urad dal, 1/2 teaspoon (optional) 
chana dal, 1/2 teaspoon (optional)
one red chile (optional)
cashew or peanuts (optional)
asafoetida, a pinch (optional); asofoetida promotes digestion

1. Rinse the rice in cold water several times to remove as much starch as possible. The cooked rice has to be loose and fluffy to get the right texture for a tasty coconut rice. Cook the rice according to instructions. However, if the instructions call for 1:2 ratio of rice to water, reduce the amount of water to 1 1/2.

2. Transfer the cooked rice onto a baking dish and let it completely cool.

3. Meanwhile, heat oil in a skillet. If you are not planning to use any of the optional ingredients, simply roast the coconut in the oil till it turns golden brown. Add the roasted coconut to the rice. Add the desired amount of salt.

4. Blend the rice, salt and coconut with a spatula. You are done!

5. If you want to add any or all of the optional ingredients, this is the order in which you would proceed:

(All the roasting should be done in low heat)
a. Heat oil in a skillet and add the asafoetida
b. Add the mustard and let it pop
c. Add urad and chana dal and roast them till they turn gold brown
d. Add and roast the nuts till they turn golden
e. Add the chile
f. Add the coconut flakes and roast till they turn gold brown
(for reference, see the third photo)
g. Follow steps 3 and 4 above to finish the dish.


Thanks for visiting.


Friday, May 2, 2014

Repurposed Burlap


Growing up in India, burlap was a familiar object to me. Everything from rice to coal came packaged in large burlap sacs. After the rice or coal was used up, my mother would use the sacs as dry mops. The habit of reusing burlap has stayed with me even after I moved to the US. The basmati rice I buy come packaged in burlap bags. For a while, I have been reusing these burlap rice bags to make journal covers like the ones shown here.


After I make these covers, I am often left with remnants. Not wanting to throw these remnants away, I thought I could re-purpose them into coasters. It turned out to very well and I liked them so much I made several. They are extremely easy to make and except for some precise measuring, they require minimum sewing skills.


For this project, I re-purposed burlap rice bags. You can also buy burlap from craft stores like Michael's. It is inexpensive especially if you use a coupon. To make the coasters sturdy, I layered the burlap with a thick interfacing like Pellon Peltex and felt. You can get Peltex from fabric stores like JoAnn's and the felt I used was an inexpensive one from Michael's.

What you need to do is to decide the size of your coaster. If you want a 4" square coaster, then you cut 4" square piece of burlap, interfacing and felt each. (In a square, each side is equal, here each side is 4".)


Stack the three pieces one above the other with each side perfectly aligned. Sew them together using a zigzag stitch. You are done! It is really that easy:)


Thanks for visiting.

Saturday, April 26, 2014

Eggless Indian Tapioca Pudding


The beauty of this tapioca pudding is that it is egg-less and it does not need baking. It is cooked right on stove top with just three ingredients: tapioca, milk and sugar. Just like that it tastes good but often it is further embellished with cashews, saffron and cardamom.

What you will need:

Tapioca, also called sago
Milk
Sugar
Cardamom pods (optional)
Saffron (optional)
Cashews (optional)
(I am not giving precise measurements for the three main ingredients. Two tablespoons of tapioca for a cup of milk will give you a fairly thick pudding. If you want yours thin, use less tapioca or more milk. Same goes for sugar.)

1. Soak the tapioca in cold water for about 30 minutes. Soaking helps it cook faster.


2. Slowly heat the milk in a thick vessel on the stove. When the milk is quite hot, add the tapioca (without the water) into the milk. 
3. Cook the tapioca in the milk in low heat. Stir the milk and tapioca frequently to prevent it from sticking to the bottom of the container.
4. As the tapioca cooks, it will lose its whiteness and turn translucent. When it is completely translucent, add sugar and other condiments, such as saffron and cardamom.


5. Remove from heat.
6. If you want, you may add cashews either raw or roasted.


Serve hot or cold. Enjoy.


 Thanks for visiting.


Tuesday, April 22, 2014

Earth Day


It is Earth Day celebration at I am the Diva czt. This is my submission, done on Kraft paper which gives the impression of flowers on a stone path.

Thanks for visiting.

Dyeing with Henna


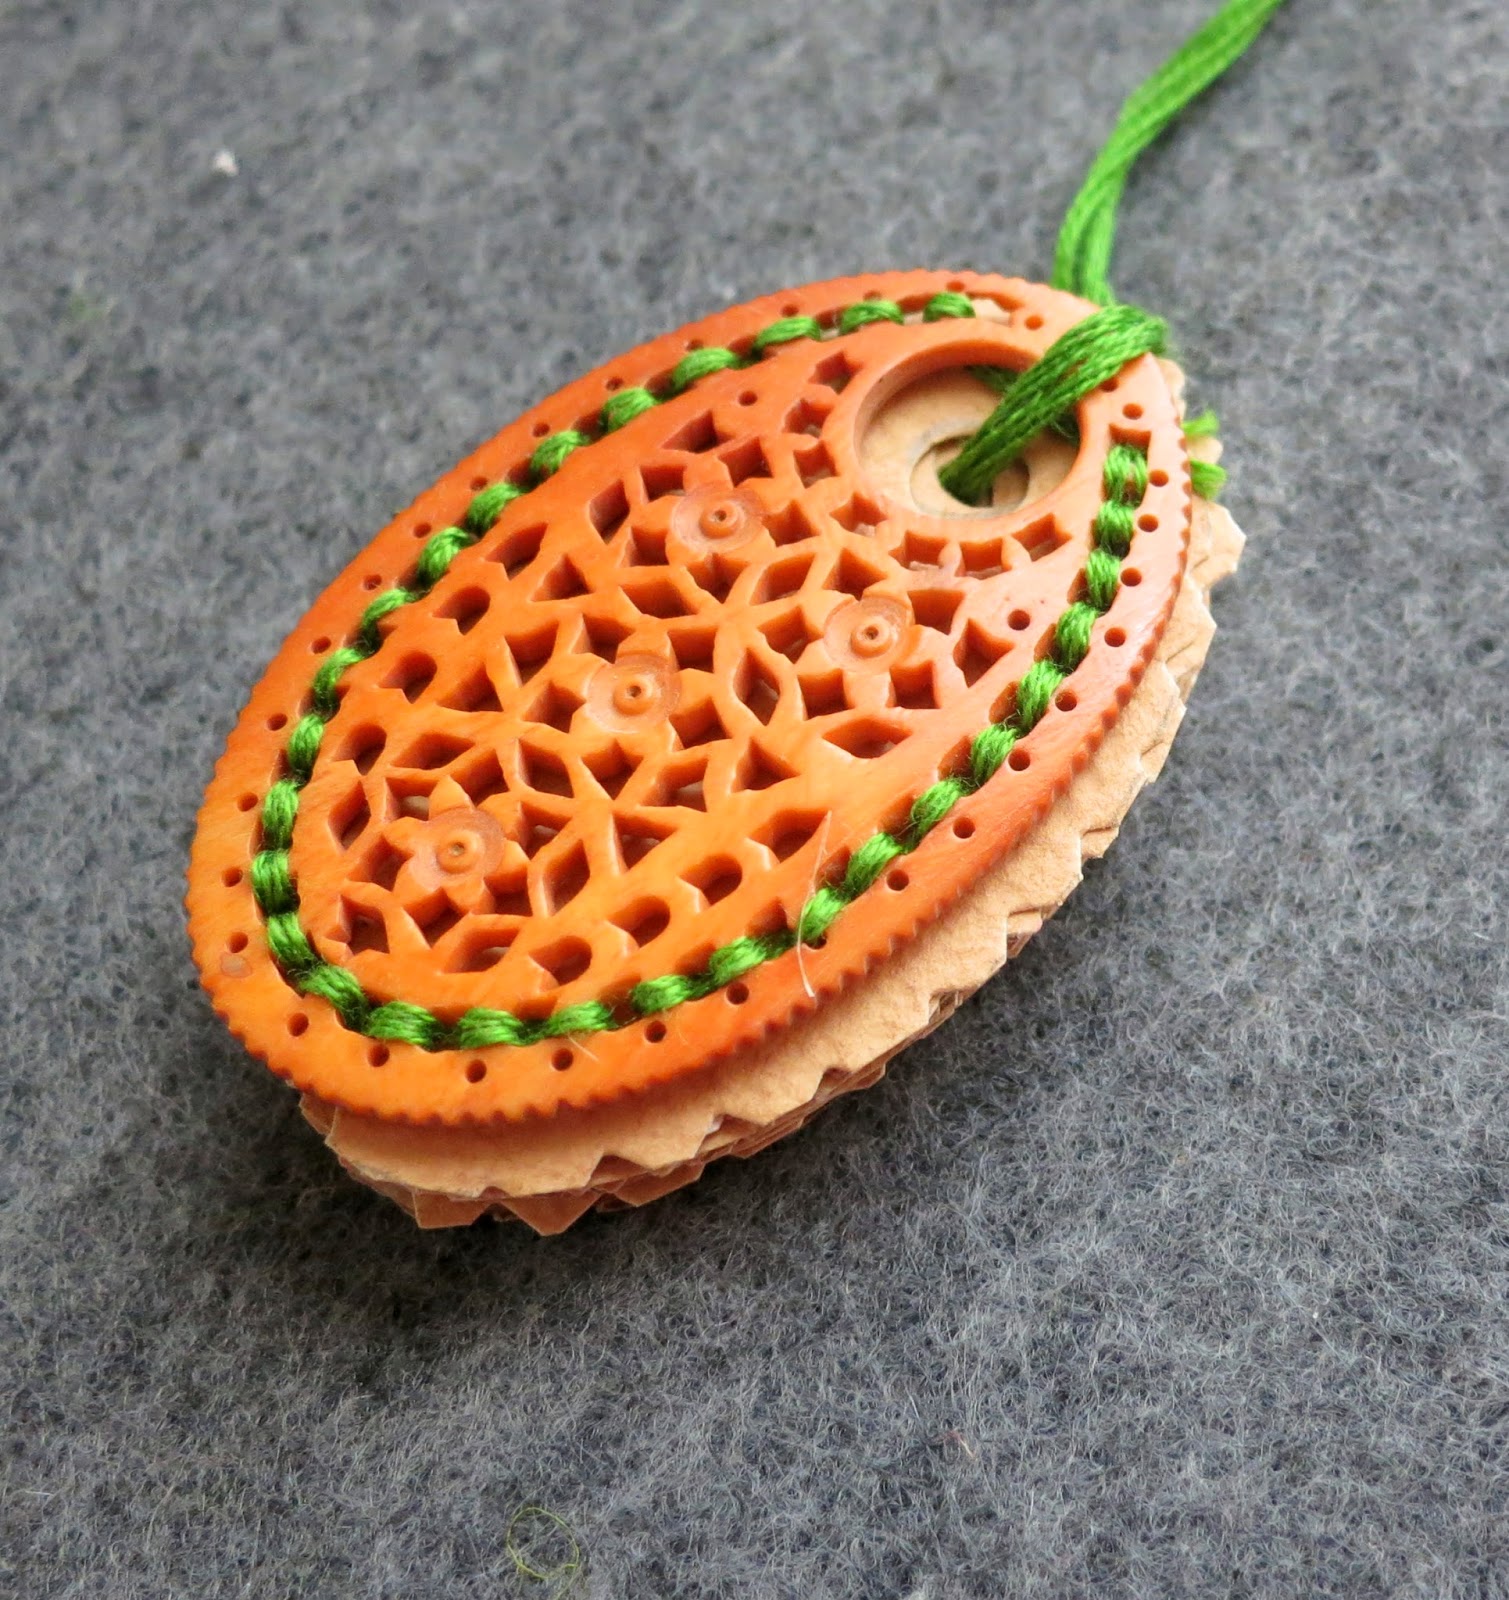
I love henna and I am always looking for opportunities to incorporate the rich, warm orange brown of the henna color into my work. I found a wonderful use for it in the carved white bone components that I have been accumulating for a while. These carved bone components make for fabulous jewelry designs but one of the disadvantages of using them is that they tend to yellow over a period of time due to exposure to air and contact with the skin. I had tried to polish them in various ways but could not bring back the original whiteness. This was when I decided to dye them with henna, and what I realized was that the new coloring expanded the jewelry designing possibilities. Henna's deep orange color allowed me to add more coordinating and contrasting colors in the necklaces and earrings which made everything glow.


The photo below provides the before and after views. As you can notice the coloring brings out the details of the carving much more sharply. I use simple but effective techniques to get the deep rich color of the henna on to the components. The instructions are below:


Materials:

Henna powder (you can buy it from any Indian store or online)
essential oil ((black pepper oil, frankincense oil or eucalyptus oil) or plain vinegar
Bone beads
Water

Blend henna and water to a cream like consistency.
Add a few drop of essential oil  or  plain vinegar.
Place the bead components into the henna mixture and cover them completely with the paste.
Cover and let it sit in a warm place for a few hours.
(I usually let it sit outside on a sunny spot.) 

Once you are satisfied with the dye color, take it out and wash it with cold water (no soap, please). Dry and buff it with a soft cloth. The buffing will bring out the shine.

The amount of oil and the length of time for marinating the beads will depend upon the depth of color you want. With a little oil and warmth, henna will dye to a rich hue. If you want something paler, reduce or eliminate either or both. Below is a lighter version of the dye.


Thanks for visiting.

Friday, April 4, 2014

Peanut Butter and Green Pepper: Is it a Dip or a Curry?


Curry Sandwich


Whenever we have an international luncheon at work, I always struggle to come up with a dish that will appeal amidst all that meaty splendor spread on the buffet table. It was when I noticed Scott, my son-in-law, eating it with relish, that it occurred to me that I should make it for this year's international luncheon. Sure enough, every one liked it, wanted the recipe and here it is.

This is a variation on a Goan curry that is made with homemade ground peanut and coconut paste. One day, feeling lazy, I decided to substitute  peanut butter. I have not looked back since then :)

Ingredients

medium sized green, red bell peppers (capsicum)-- 2 or 3
medium sized red onion-- one (optional)
fresh ginger to taste (optional)
Chunky peanut butter--1-2 tablespoon
Olive oil-- 1-2 tablespoon
salt to taste
red chili powder (optional)
turmeric-- 1/2 teaspoon (optional)


Instructions 


1. After removing the core and the seeds chop the pepper into small chunks. (Cut the onion and the ginger also into small pieces, if you are using them.)


2. Heat olive oil in a skillet; add the onions and the ginger. (Note: I have also added black mustard seeds. That is the way I cook but you do not have to.)

3. Cook till the onions turn translucent.


4. Add the chopped bell peppers, spices and the salt.


5. Cook till the peppers turn soft.


6. Add peanut butter.


7. Mix it thoroughly into the cooked vegetables with a spatula till it is all melted and gooey.


You can eat this with nacho chips, pita bread, naan or roti. Any which way, it is finger lickin' good!


Sunday, March 23, 2014

Fenugreek Leaf Flatbread


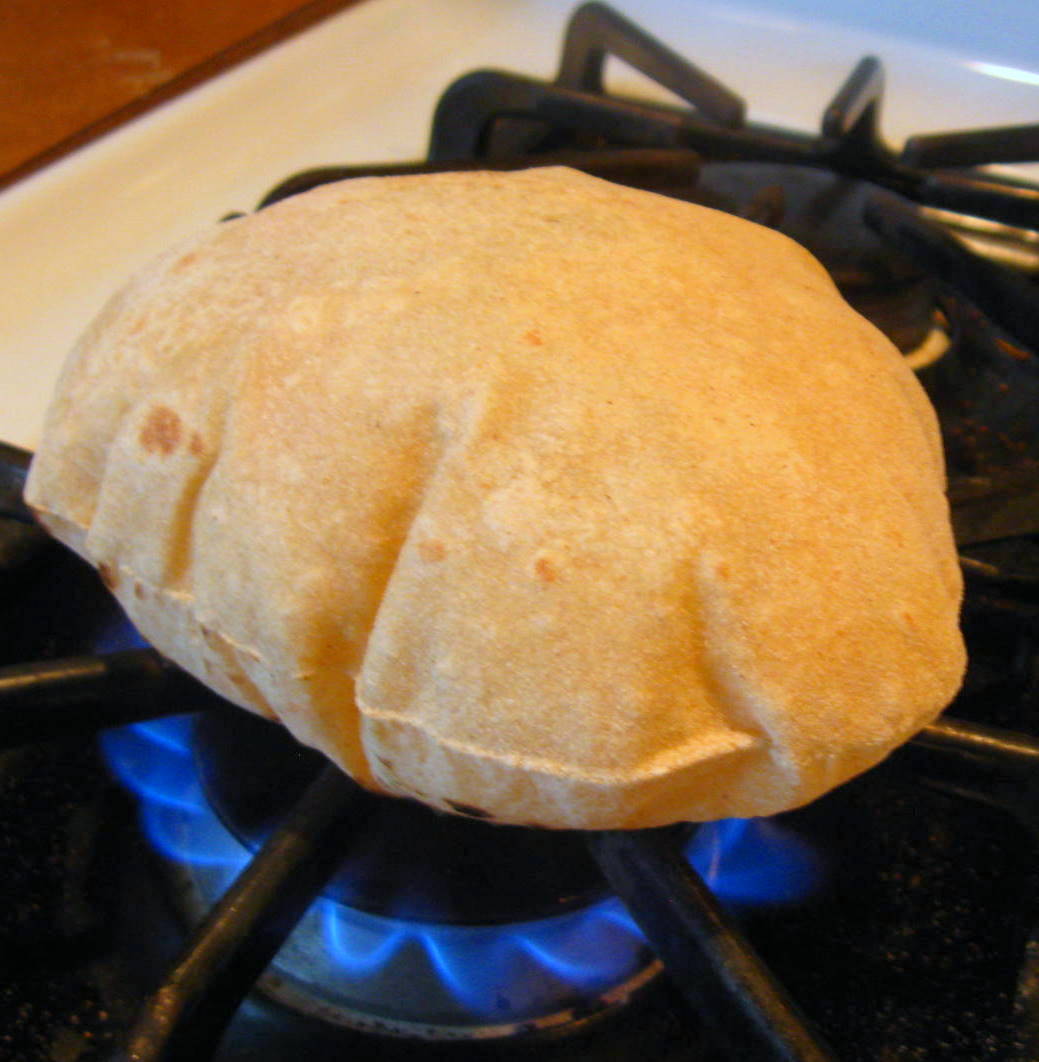
The recipe given below uses fenugreek as the stuffing. it can be substituted with mint or coriander. Vegetables such as potato or radish can also be incorporated.

1. Thoroughly wash the fenugreek leaves to remove all mud and dirt. Then chop finely.


2. Heat oil in a skillet and sautee till the leaves are cooked. At this point, it will shrink considerably in volume.


3. Transfer the cooked leaves into a bowl. Add desired amount of wheat flour and a pinch of salt.


4. Add water into the mix and knead into a fairly stiff dough.


5. Split the dough into small balls.


6. With a rolling pin, roll the ball into a thin round shape roti.


7. Heat a griddle on top of the stove and lay the roti on the hot griddle. Drizzle ghee or coconut oil around the edge of the roti. Cook on the griddle till each side turns brown and crispy. Remove from heat and serve with yogurt.


Thanks for visiting.