Showing posts with label tutorial. Show all posts

Wednesday, May 25, 2016

How To Make a Cigar Box Planter: Step by Step Instructions


Do-Something-Everyday, May 25,  2016


This is the last of a series of posts called Succulent Love. These are posts showcasing my succulents collection  in interesting planters along with small paintings of succulents that I did. You can find previous posts here, here, and here. The one below is planted in a cigar box with a painting of the plant on the inside lid. 

Cigar boxes are one of my favorite planters for succulents. I use them in their natural state which gives a rustic look to the arrangement. Creating a planter out of a cigar box is not at all complicated. The materials needed are easily available and the time it takes to do is no more than 30 minutes. Here is how to do it:

A. What you need:

1. An empty cigar box ( you can buy one for five dollars or less from a cigar shop)
2. A fairly large size succulent (appropriate to the size of the box)
3. Small pebbles for layering
4. Potting soil
5. Plastic liner ( I used a grocery bag)
6. Moss (Spanish or sphagnum)


B. Instructions:

1. Line the box with a a small plastic grocery bag and add an inch of pebble rocks over the liner. The liner will protect the box from the moisture from the soil. The rocks provide drainage.


 2. Add a layer of potting soil and plant the succulent in the soil. Make sure there is enough soil to cover the roots around the plant and on top. 


 3. Trim the plastic liner around the edges and add a layer of moss on top ( I used Spanish).


4. This step is optional. I added feet to the box so that it will not sit flat on the ground. I used small wood round disks (available in the wood craft section of any craft store) and attached one to each bottom corner using wood glue. Because I can, I painted  a succulent on the inside lid.


Thanks for visiting.

Thursday, May 5, 2016

Removing Unwanted Objects in Photos Using Photoshop


Do-Something-Everyday, May 5 2016

There is nothing more annoying than seeing an unwanted object ruining a well composed photo. Take the photo above on the left side.  This is a photo that I took of the La Concha hotel in Key West, Florida.  I took the photo from across the street and I was able to capture the hotel fully in height and breadth. However, the photo is marred by a protruding traffic light on the right. Because of that, I had never been able to use the photo. But now, there is rescue available with the Content Aware feature in Photoshop Element. This feature has been available in the pricier Photoshop CS for a while but Adobe put it in PSE version 13. This feature is really a photo saver. Here is how you do it:

Saturday, July 18, 2015

Travelling Journal: A Step-by-Step Tutorial for Making Postal Journals


Do you mail yourself postcards from places you visit? If yes, here is an alternative to those cookie-cutter postcards--handmade journal. You can make it yourself, use it in your travels and, at the end of the journey, seal and mail it to yourself. You not only have a record of your travel experiences but also a mail from the place you had just visited. It is so cool. I have mailed them within US, from Canada and the UK. In all instances, they were delivered  without fail.

Basically, this is a pamphlet style journal stitched into a 12" by 12" scrap  paper. With a few nips and tucks, the scrap paper does double duty as a cover and an envelop. If you know how to make a pamphlet style journal, you are already half way there. I have also provided graphic instructions for making the journal. Please note that I have used the terms journal and notebook interchangeably.

Though this is not an art piece, it deals with the theme of post and postage. One of the journal covers is made with all stamp paper. So I am linking this post to Art*Journal*Journey.

Materials and tools needed:

1. Kraft or scrap paper 12" x 12" for cover cum envelop
2. White copy paper, 8.5" by 11", 5 sheets for notebook
3. Embroidery thread and needle with a large eye
4. An awl for piercing hole (or any sharp object that can poke hole into a paper)
5. Scissors

Note:This is a slim journal made of 10-20 pages. This will keep the postage charges at reasonable level. I have used colorful cover pages. You may substitute plain Kraft paper.


Instructions

1. Fig 1-4: Take a 8.5" x 11" sheet paper. Fold it lengthwise (fig 2). Fold it widthwise (fig 3). Tear along the fold on the width side (fig 4). You should have two folded sheets, each measuring 5 1/2" by 4.25". Do steps 1-4 with the remaining sheets. You should now have ten folded sheets.


2. Figs 5-8: Take a single folded sheet. Along the fold, mark the center. Mark one inch from the top. Mark one inch from the bottom. Do the same with the remaining sheets. Tuck the sheets into each other like a notebook so that the marks are neatly aligned. Poke the awl from the inside through the center point all the way through the sheets. Do the same with the top point and the bottom point (Fig 8).


3. Figs 9-12: On the right side of the scrap paper, mark the center which is 6" from either side. Place the notebook on the inner side of the scrap paper as shown in Fig 10. The center hole on the notebook should align with the 6" mark. (The scrap paper I am using is plain on one side and that is the inner side. If you are using a paper that has print on both sides, you may either side for the inside.) 

Fold over the left side of the scrap paper over the right side (Fig 11). Crease the fold and flip over the entire sheet (Fig 12).


4. Figs 13-16: The following steps are for making a pamphlet style notebook. Open the flap and using the notebook as the guide, mark the center, top and bottom points on the scrap paper (Figs 13 & 14). With the awl, make a hole on each marked point. Cut a piece of embroidery thread that is 3 times the length of the notebook. Thread the needle with one end of the thread longer than the other. (Fig 15).

Make sure the holes of the notebook are properly aligned with the holes on the cover sheet (Fig 15). Open the notebook and push the threaded needle from the inside center hole ( Fig 16) leaving a tail 3" long.


5.  Figs 17- 20: From inside the center hole, bring the needle to the outside, marked 1(Fig 17). Push the needle into the hole on left from outside (marked 2) and bring it inside (Fig 18). Take the needle all the way across the top hole and push through from inside hole to outside (Figs 19 & 20).


6. Figs 21-24: From hole 3, push the needle inside through the center hole (marked 1) and tie a secure knot with the tail. Trim off excess thread (Fig 22).

Close the journal and the cover the way it is shown in Fig 23. Flip over and fold the two edges as shown in Fig 24.


7. Figs 25-28: Cut off the folded edges and when you open the cover, it should look like Fig 25. Draw the two lines as shown in Fig 26. Trim the cover along the lines as shown in Fig 27. (However, you can skip steps 26 and 27 and fold as shown in Fig 26A below.) Fold the flaps as shown in Fig 27.


8. Figs 29-30: Fold the flapped side over to the side with the flat paper. It should look like Fig 29. Fold the excess paper as shown in Fig 30. 

You have now an envelop journal. 


I hope these instructions inspire you to make a few journals of your own. If you have any comments or suggestions about this tutorial, please feel free to do so.

Thanks for visiting.


Tuesday, April 22, 2014

Dyeing with Henna


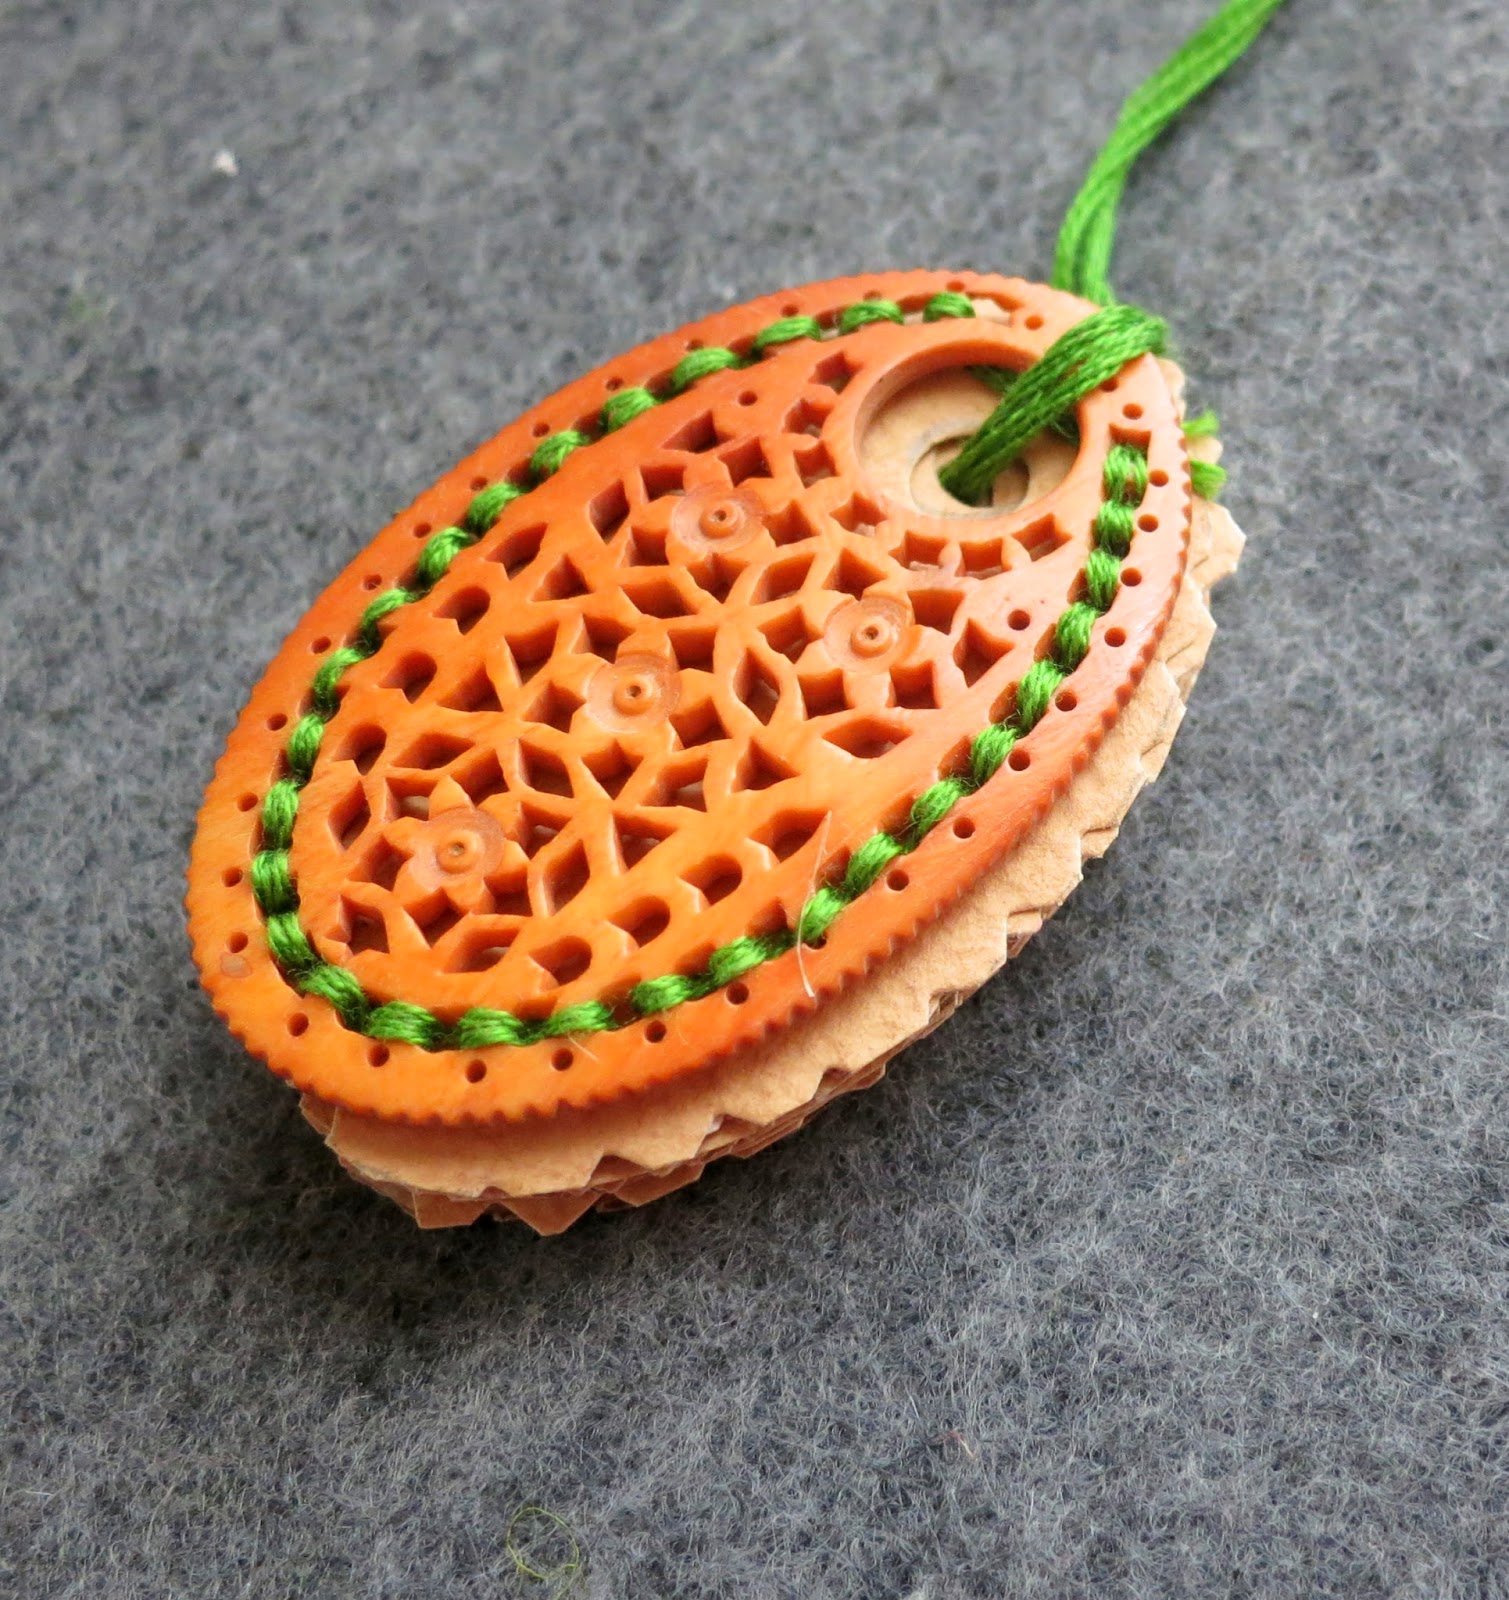
I love henna and I am always looking for opportunities to incorporate the rich, warm orange brown of the henna color into my work. I found a wonderful use for it in the carved white bone components that I have been accumulating for a while. These carved bone components make for fabulous jewelry designs but one of the disadvantages of using them is that they tend to yellow over a period of time due to exposure to air and contact with the skin. I had tried to polish them in various ways but could not bring back the original whiteness. This was when I decided to dye them with henna, and what I realized was that the new coloring expanded the jewelry designing possibilities. Henna's deep orange color allowed me to add more coordinating and contrasting colors in the necklaces and earrings which made everything glow.


The photo below provides the before and after views. As you can notice the coloring brings out the details of the carving much more sharply. I use simple but effective techniques to get the deep rich color of the henna on to the components. The instructions are below:


Materials:

Henna powder (you can buy it from any Indian store or online)
essential oil ((black pepper oil, frankincense oil or eucalyptus oil) or plain vinegar
Bone beads
Water

Blend henna and water to a cream like consistency.
Add a few drop of essential oil  or  plain vinegar.
Place the bead components into the henna mixture and cover them completely with the paste.
Cover and let it sit in a warm place for a few hours.
(I usually let it sit outside on a sunny spot.) 

Once you are satisfied with the dye color, take it out and wash it with cold water (no soap, please). Dry and buff it with a soft cloth. The buffing will bring out the shine.

The amount of oil and the length of time for marinating the beads will depend upon the depth of color you want. With a little oil and warmth, henna will dye to a rich hue. If you want something paler, reduce or eliminate either or both. Below is a lighter version of the dye.


Thanks for visiting.

Saturday, March 8, 2014

Packaging with Handmade Jute Buttons


Jute and burlap are my most favorite natural materials and I am always finding ways to use them in my journals. I recycle burlap rice bags as journal covers. 


While I was looking for some natural buttons to go with the burlap covers, I decided to make my own buttons using jute strings. The inspiration for this idea came from Indian jute coasters like the one below.


These coasters are hand stitched which is labor intensive. I took the shortcut of using fabric glue that I have seen effectively used in yarn wrapped projects. While making some of these buttons, I decided to do a short photo tutorial on it. Here are the instructions for making jute buttons

What you will need:


Jute string (comes in various thicknesses and thicker the string heavier the button will be)
Glue (I use Sobo; it is a white glue but dries clear)
Wax paper (makes it easy to remove the button once it is dry)
Embellishments (optional)
Paper towel and a bowl of water (to wash your hands when they get too sticky with glue)

(Please note that this project is messy but in a pleasant sort of way.)

1. Spread a small sheet of wax paper on your working table.
2. Unspool a length of jute string (no need to cut it off the spool) and tie a couple of simple knots at one end (you can also use a bead to tie the string).


3. Pour a few drops of glue onto the paper and spread it into a small circle using a toothpick or a plastic craft knife.


4. Place the knotted end of the string on the glue and begin to wrap the string around in tight circles. The glue underneath will help keep the circle in place but you can also dab a little bit glue on top.


5. Keep wrapping till the button reaches the size that you want. Let it dry for an hour or so and remove from the paper.


And, you are done! 


These buttons add a special touch when used in packaging.

Thanks for visiting.

Sunday, November 17, 2013

Image Transfer on Wood


A while ago, after reading Collage Fusion: Vibrant Wood and Fabric Art Using Telamadera Techniques by Alma de la Melena Cox, I got myself a pyrographic kit from Michaels. I have yet to create art using her techniques, but I learned how to transfer images using the wood burning tool. It has become one of my favorite image transfer techniques. I like using it on small unfinished wood surfaces and the more I use the more I like it. This weekend, I decorated a set of wood tags using this technique and while I was at it, I took photos and wrote up this tutorial.

 Materials Needed

1. Wood burning kit. Available at all craft stores. Buy one that includes a circular tool point.
2. Small unfinished wood pieces--tag, round and rectangle shaped. They can be found in the wood craft section at Michaels. Transfer works best on unfinished and unpainted pieces. 
3. Craft acrylic paints, glazing medium and gel pens. Again, these can be bought from any craft store.
4. Copyright free images. An excellent source for free images are www.thegraphicsfairy.com. The images should be printed on a laser printer or photocopied. The images used for transfer should be toner based. Inkjet prints will not transfer. The photo below shows a sample of wood pieces and images.


Instructions

The kit I bought came with several points along with the burning tool and one of them was a transfer point. It is a round disc (see below). 

1. I taped the image on the wood surface (image side down). I taped the image so that my left hand would not be in the way of the burner tool.


3. I set the temperature dial on the wood burner to the maximum and let it heat for about 6 minutes.

4. Once it was heated, I rubbed the point over the image using a continuous circular motion.


5. It took about five minutes to get the image transferred. When it was done , it looked like this.


As you can see, the transfer causes some burning to occur. I, personally, do not mind this, If you want to minimize wood burns, you can use set the heat at a lower temperature. Experiment a little to see what works for you.

Tip 1: Press firmly but not too hard and move the tip continuously in a circular motion. Otherwise, the paper will get round burn marks which will imprint on the wood.
Tip 2: Lift the paper often to make sure the image is transferring.
Tip 3: The tip can get very hot; use caution and follow the manufacturer's instruction on safe use.

The following steps are optional. You may stop with just the image transfer and use the pieces in their natural, unfinished state or you may additional colors and enhancements.

6. Squeeze a few drops of craft paint on a paper plate. Add several drops of glazing medium to the paint and blend it thoroughly. Craft acrylic paints are usually opaque and adding a glazing medium makes the paint transparent. Paint over the image. When done, it will look like this.


As you can see, the image is visible under the paint. You can stop here and use the tag as it is or if you want to do more, you can highlight the details with gel pens. Black and white colors work best.


Thanks for visiting.

Saturday, June 29, 2013

DIY: Repurposed Tin into Handmade Clock


I am a big tea drinker. I make my tea the Indian way, which is to brew loose tea in boiling water and adding milk and sugar to the filtered brew. Occasionally, the tea comes packaged in a nice tin canister. After the tea is all used up, I keep the empty containers hoping to reuse them. Here, I have re-purposed one into a desktop clock as well as a storage container. It is quite easy to do. I got the clock unit from a local craft store. I drilled a hole into the box and attached the watch unit. I wanted to keep the logo and the product information. But, one can alter it with alcohol ink which might be quite lovely. I might try it on the next one.
It will also make a nice gift for a tea lover.

You will need:

1. An empty tin canister, at least 6" tall (you can pick one from a flea market)
2. A clock unit (available in any craft store)
3. Alcohol inks (optional)
4. Electric drill and bits

Instructions

1. Choose a proper bit to drill a hole big enough for the clock unit to insert. Drill the hole from outside of the tin. Drill only on side.
2. Insert the base unit from the inside through the drilled hole. Before inserting the base, fit it in with the battery.
3. Assemble the clock face and the hands.

You are done!. If you choose, you can alter the tin with alcohol inks and make it pretty.

Here is another of my DIY wall clock.

Thanks for visiting.